|
|
|
|
|
| B72 | Snowy Mountains Highway (B72) - Talbingo To Mundarlo |
Statistics:
Route Numbering:


General Information:
Snowy Mountains Highway is a route that connects the Southern Tablelands of New South Wales with the far south coast via the Great Dividing Range and Snowy Mountains. It's mostly a 2-lane undivided rural highway, passing through farmland, residential and commercial regions. Large tracts of the route pass through national parks and traverse very hilly and steep terrain.
The route links the Princes Hwy (A1), Monaro Hwy (B23) and Hume Hwy (M31). The highest town along the highway is Kiandra, at a height of 1400 metres. 2
Multiplexes along the route include:
History:
| Talbingo to Mundarlo | Mundarlo to Talbingo | |||
| Preview: | Description: | Preview: | Description: | |
 |
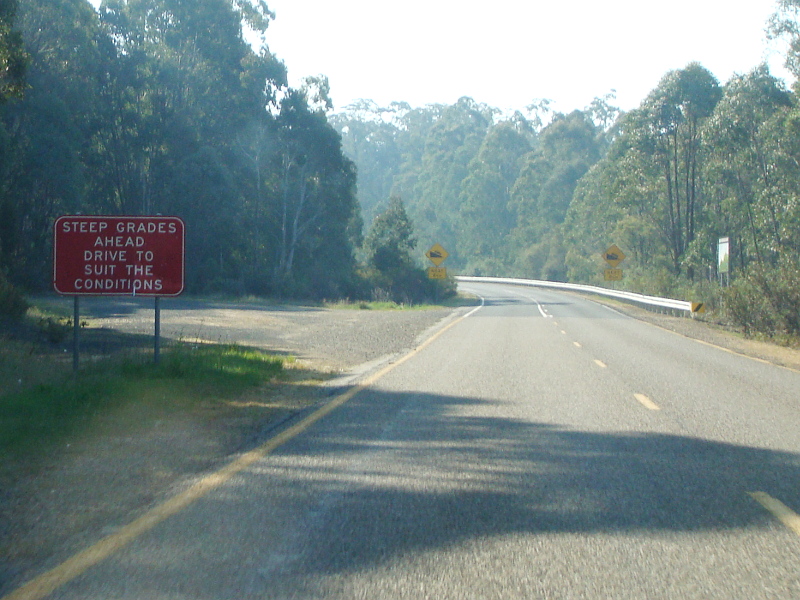
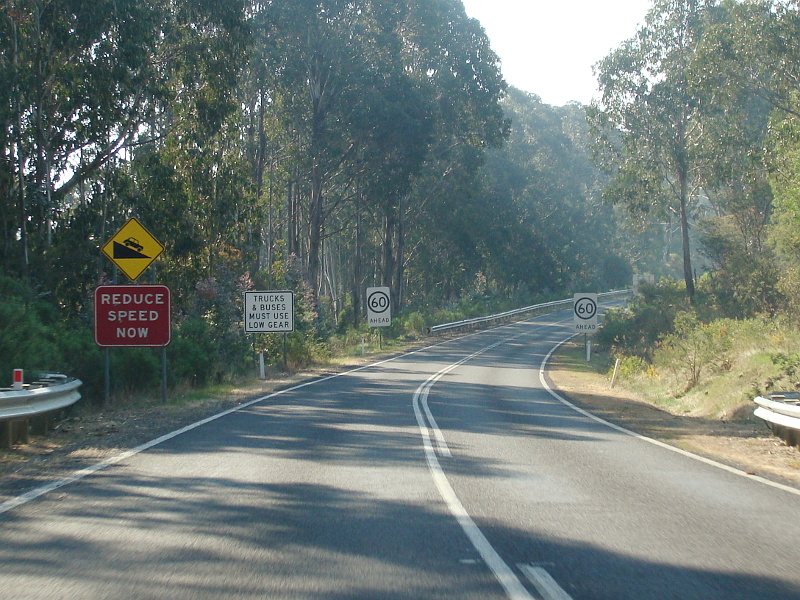
Warning Sign: Large warning sign at Talbingo approaching a steep and winding grade, October 2013. Image © Paul Rands |
 |
Jounama Dam Road: Fingerboard assembly on the corner of Snowy Mtns Hwy (B72) and Jounama Dam Rd at Talbingo, November 2010. Image © Rob Tilley |
|
 |
Warning Sign: Large warning sign at Talbingo approaching a steep and winding grade, October 2013. Image © Paul Rands |
|||
 |
Steep Descent: Start of steep descent at Talbingo, October 2013. Image © Paul Rands |
|||
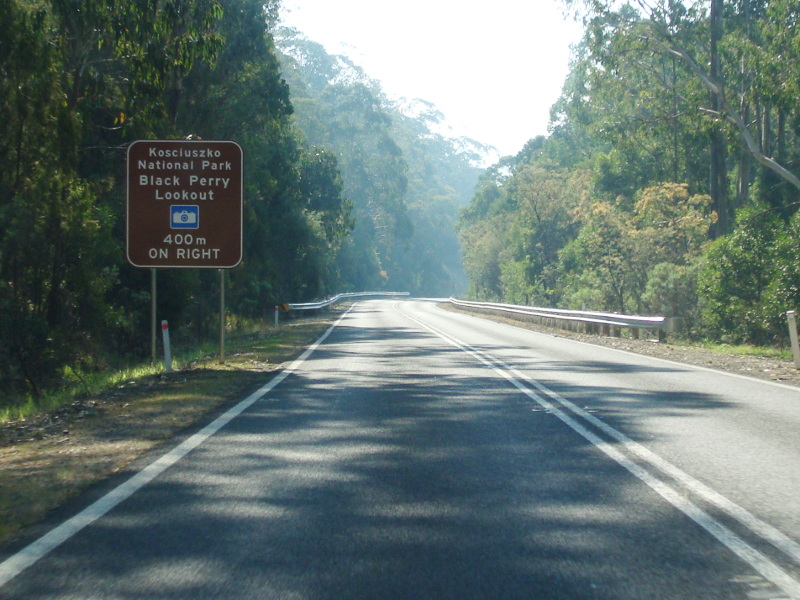 |
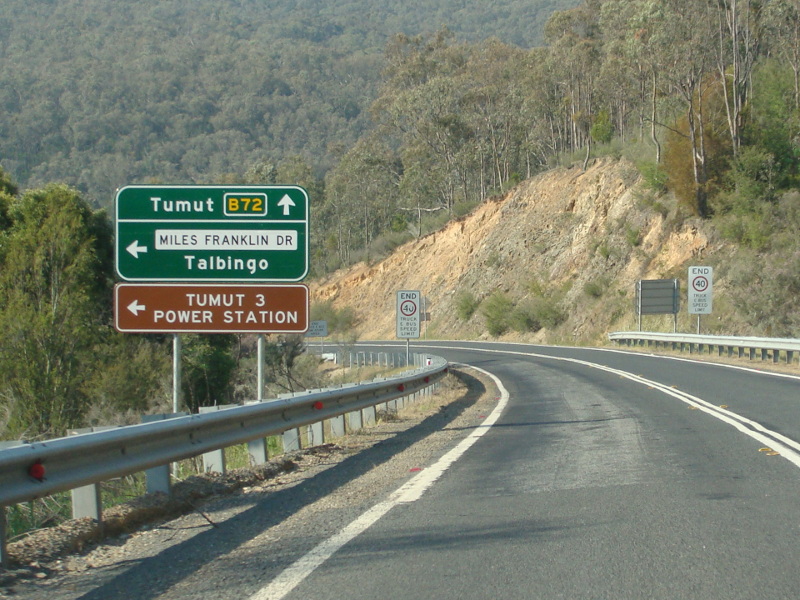
Advance Directional Sign: AD sign at Talbingo approaching Black Perry Lookout, October 2013. Image © Paul Rands |
|||
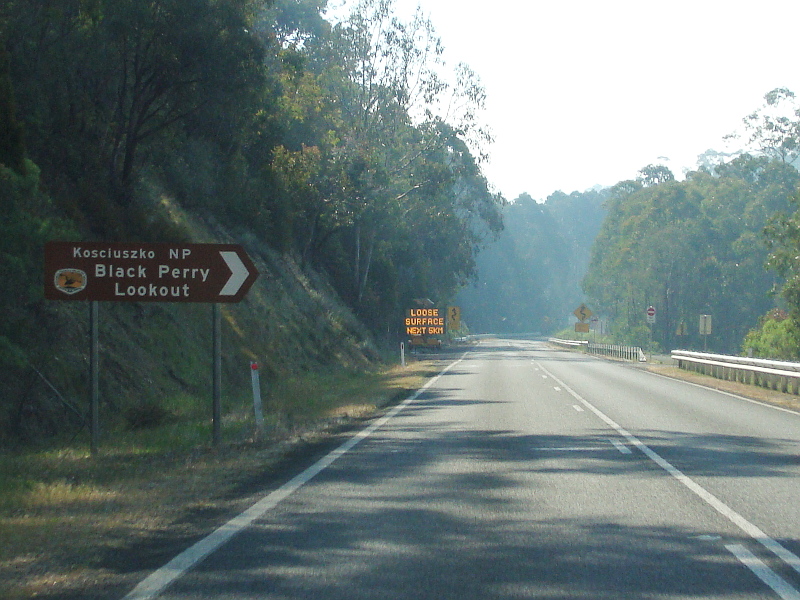 |
Intersection Directional Sign: ID sign at the Black Perry Lookout turn off at Talbingo, October 2013. Image © Paul Rands |
|||
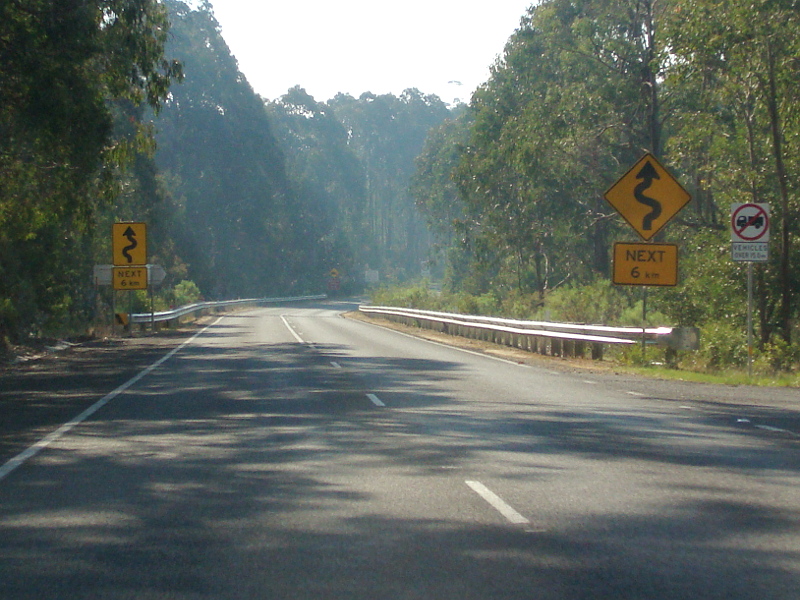 |
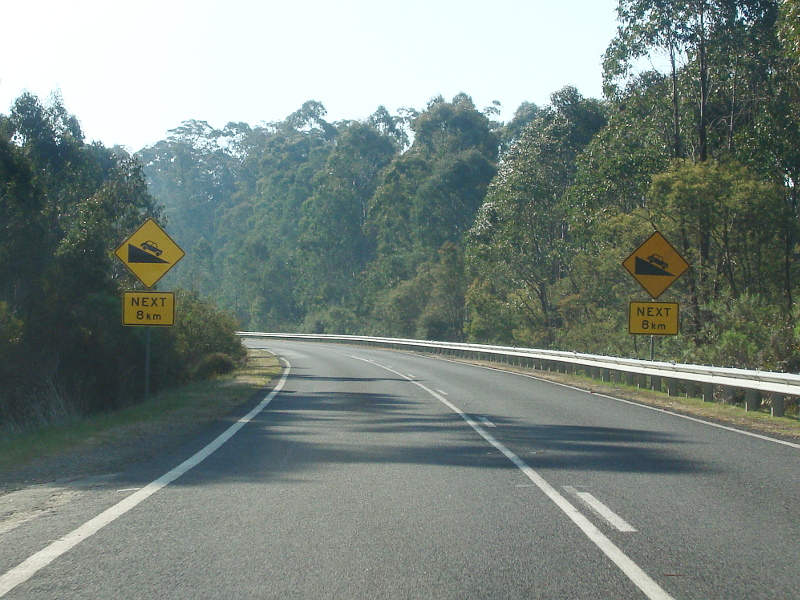
Winding Road: 2 styles of warning sign for the winding road at Talbingo, October 2013. Image © Paul Rands |
|||
 |
Final Descent into Talbingo: Snowy Mtns Hwy (B72) heading into Talbingo, October 2013. Image © Paul Rands |
|||
 |
Services Sign: Services sign at Talbingo, October 2013. Image © Paul Rands |
|||
 |
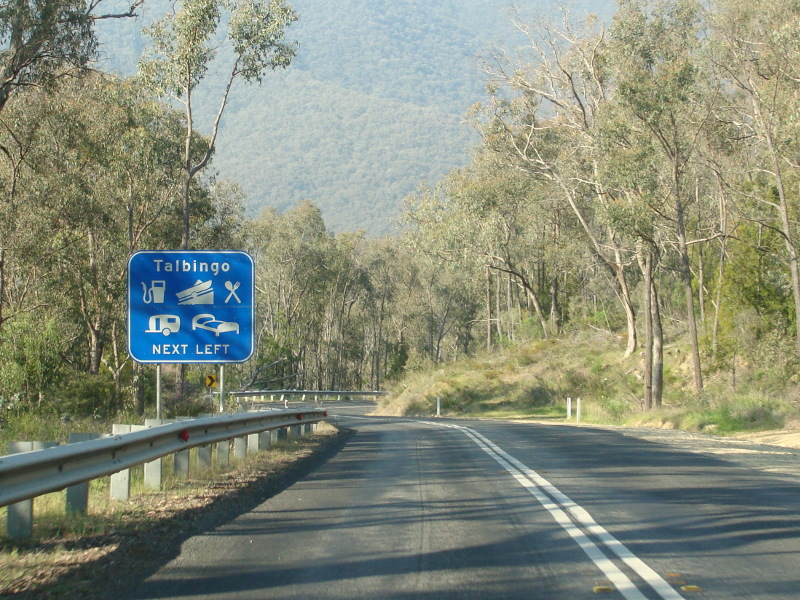
Advance Directional Sign: AD sign approaching Miles Franklin Dr at Talbingo, October 2013. Image © Paul Rands |
|||
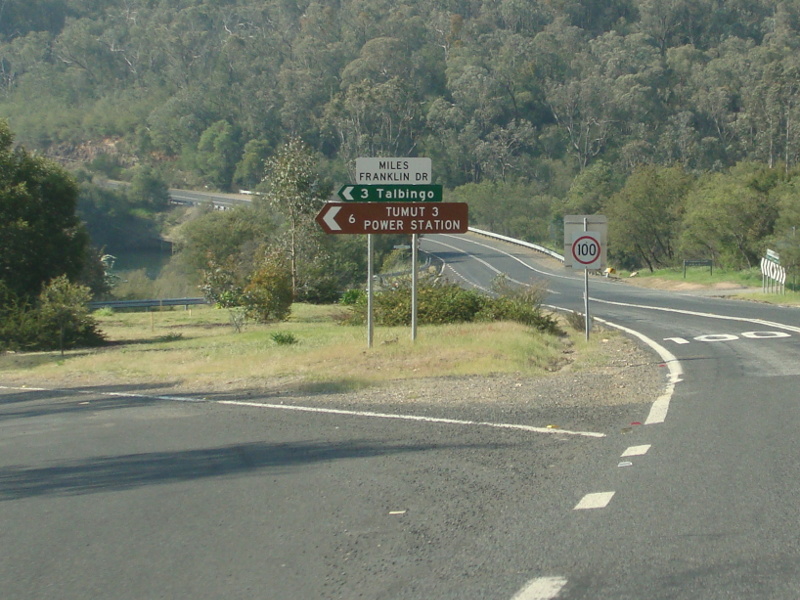 |
Miles Franklin Drive: Corner of Snowy Mtns Hwy (B72) and Miles Franklin Dr at Talbingo, October 2013. Image © Paul Rands |
|||
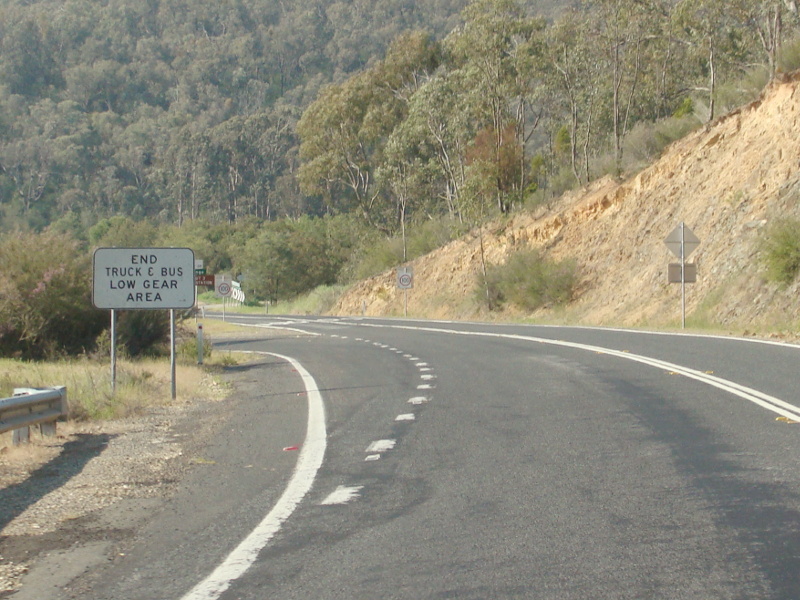 |
End Low Gear Area: Sign denoting end of low gear area for trucks and buses at Talbingo, October 2013. Image © Paul Rands |
|||
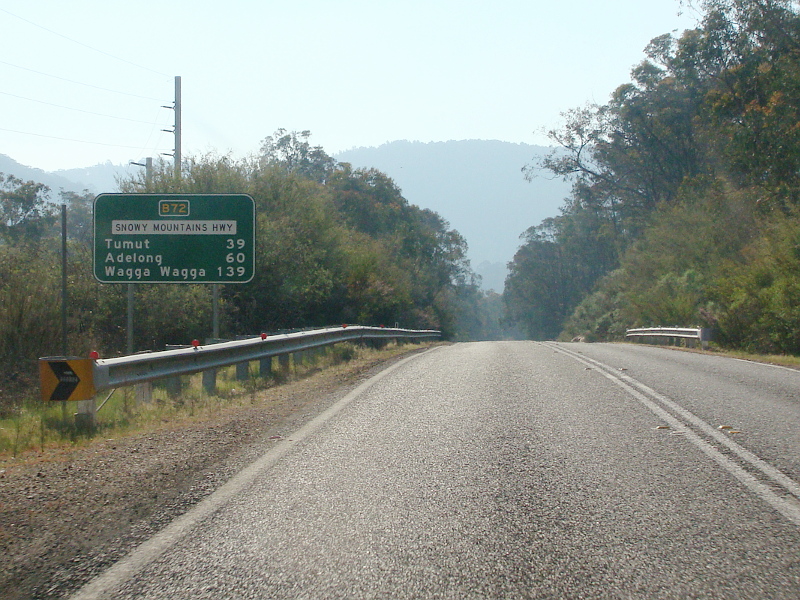 |
Distance Sign: Reassurance directional sign at Talbingo, October 2013. Image © Paul Rands |
|||
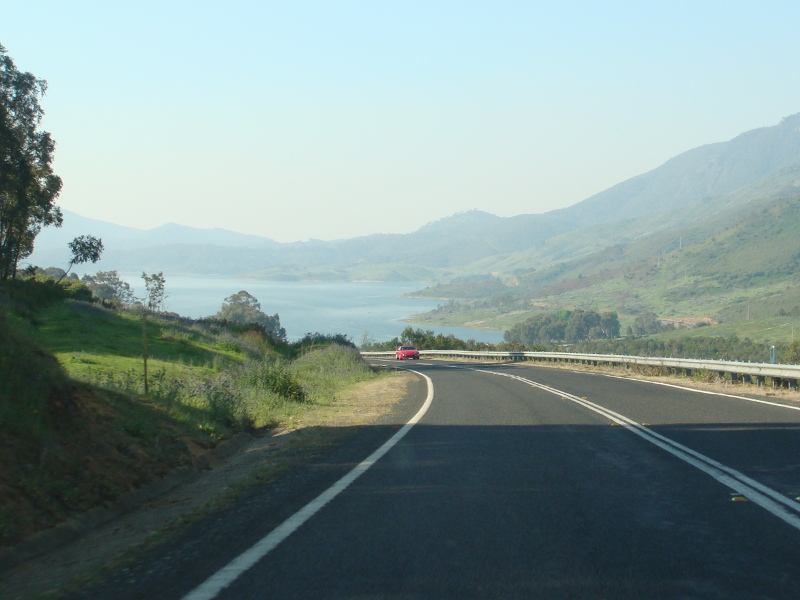 |
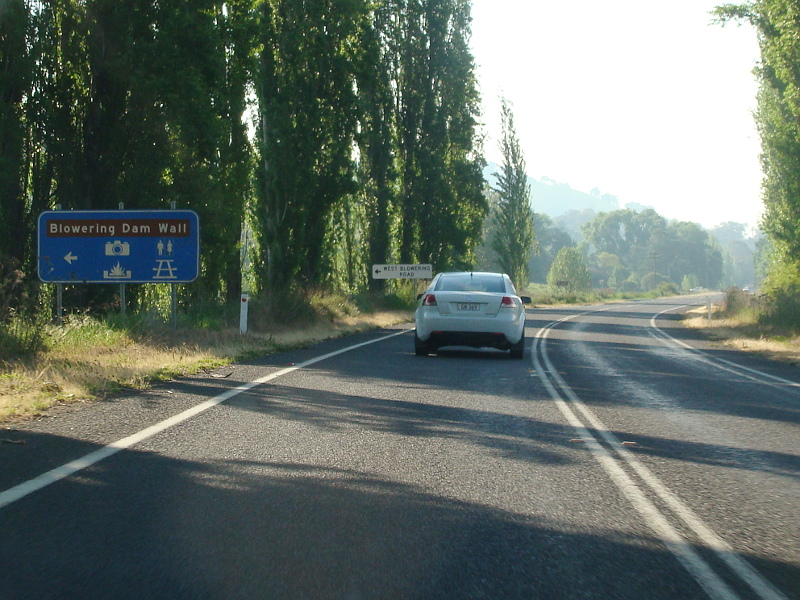
Blowering: Snowy Mtns Hwy (B72) as it passes the spectacular view of Blowering Dam at Blowering, October 2013. Image © Paul Rands |
|||
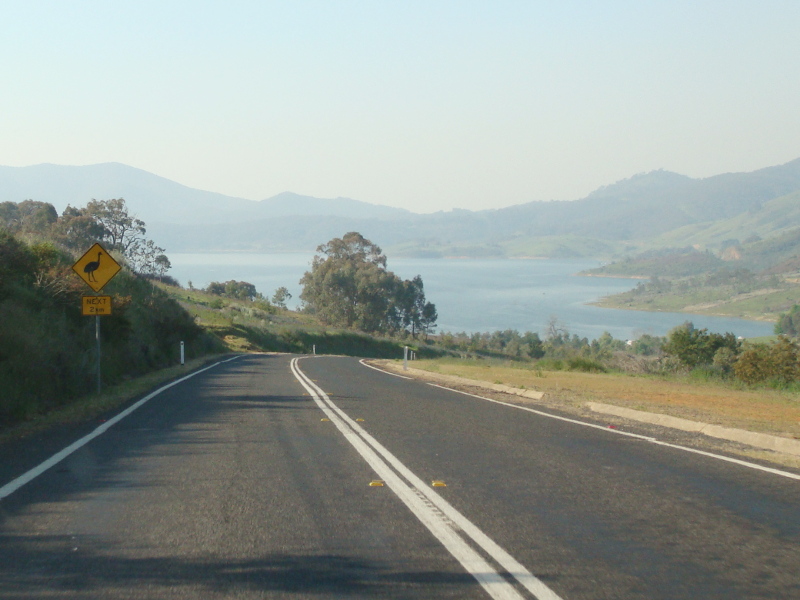 |
Blowering: Snowy Mtns Hwy (B72) as it passes the spectacular view of Blowering Dam at Blowering, October 2013. Image © Paul Rands |
|||
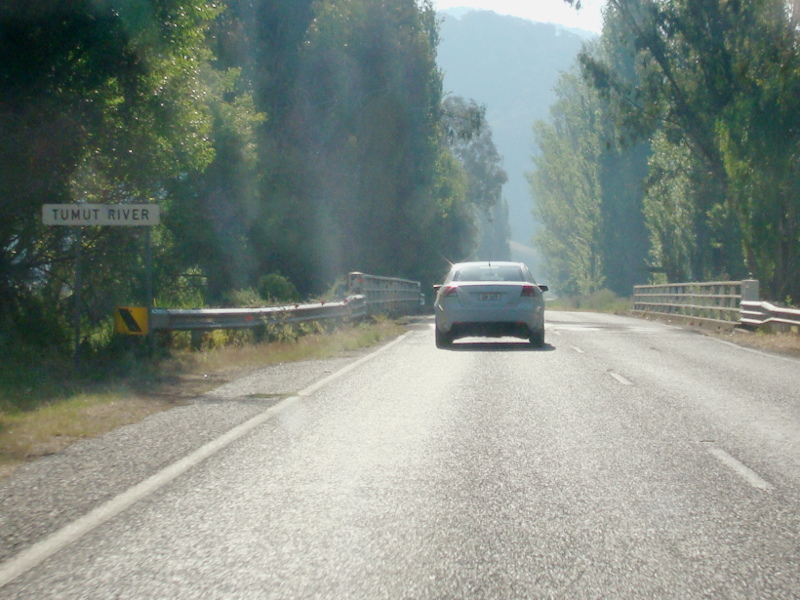 |
Tumut River: Snowy Mtns Hwy (B72) as it crosses Tumut River at Wermatong, October 2013. Image © Paul Rands |
|||
 |
Advance Directional Sign: AD sign approaching West Blowering Rd at Wermatong, October 2013. Image © Paul Rands |
|||
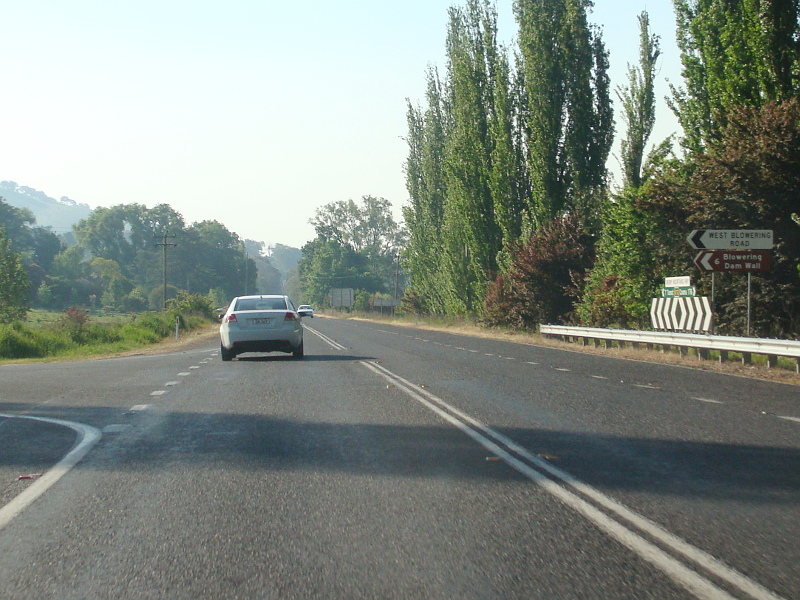 |
West Blowering Road: Corner of Snowy Mtns Hwy (B72) and West Blowering Rd at Wermatong, October 2013. Image © Paul Rands |
|||
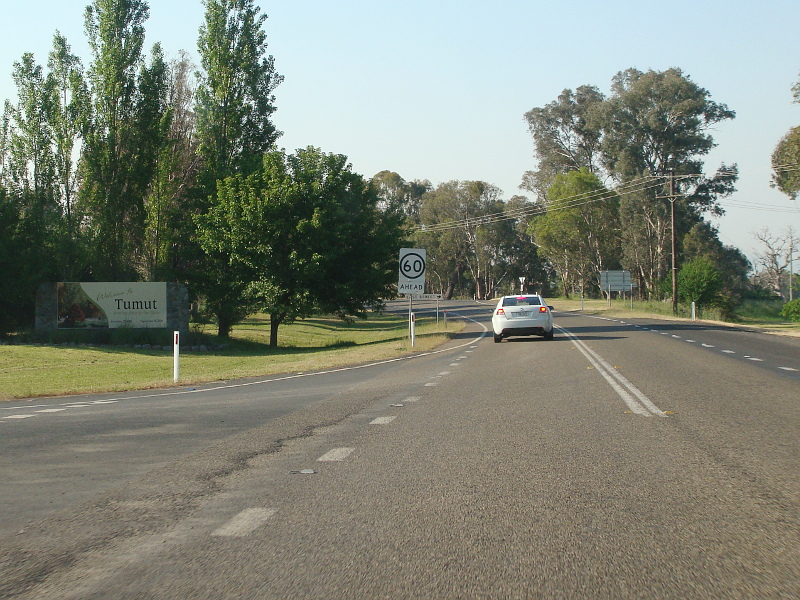 |
Entering Tumut: Snowy Mtns Hwy (B72) as it enters the town of Tumut, October 2013. Image © Paul Rands |
|||
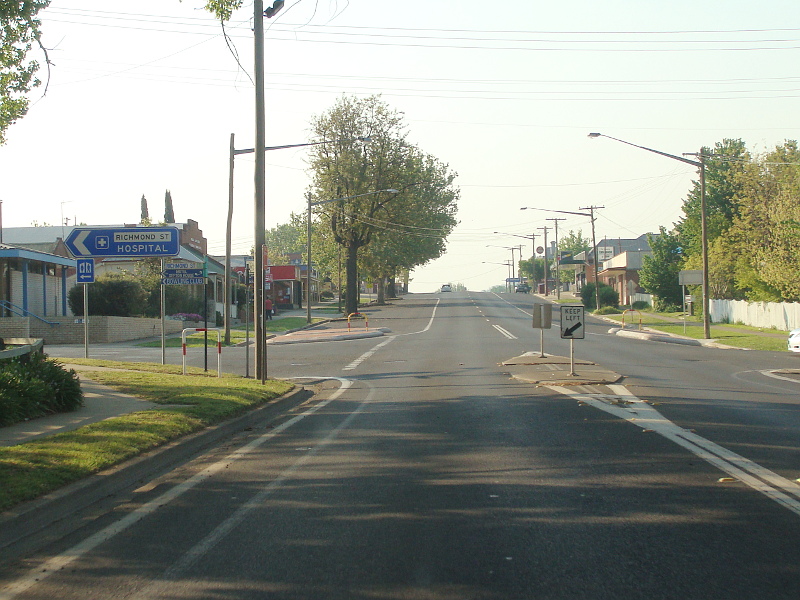 |
Richmond Street: Corner of Snowy Mtns Hwy (B72) and Richmond St, Tumut, October 2013. Image © Paul Rands |
|||
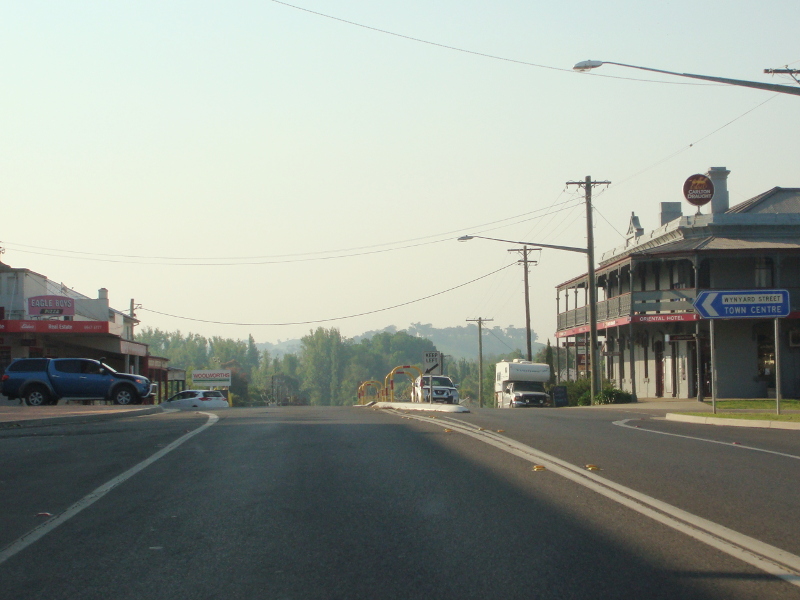 |
Wynyard Street: Corner of Snowy Mtns Hwy (B72) and Wynyard St at Tumut, October 2013. Image © Paul Rands |
|||
 |
Advance Directional Sign: AD sign at Tumut approaching Wee Jasper Rd (TD7), October 2013. Image © Paul Rands |
|||
 |
Intersection Directional Sign: ID sign at the corner of Snowy Mtns Hwy (B72) and Wee Jasper Rd (TD7) at Tumut, October 2013. Image © Paul Rands |
|||
 |
Advance Directional Sign: AD sign at Tumut approaching Capper St and Gocup Rd, October 2013. Image © Paul Rands |
|||
 |
Capper Street & Gocup Road: Snowy Mtns Hwy (B72) at the junction with Capper St and Gocup Rd, Tumut, October 2013. Image © Paul Rands |
|||
 |
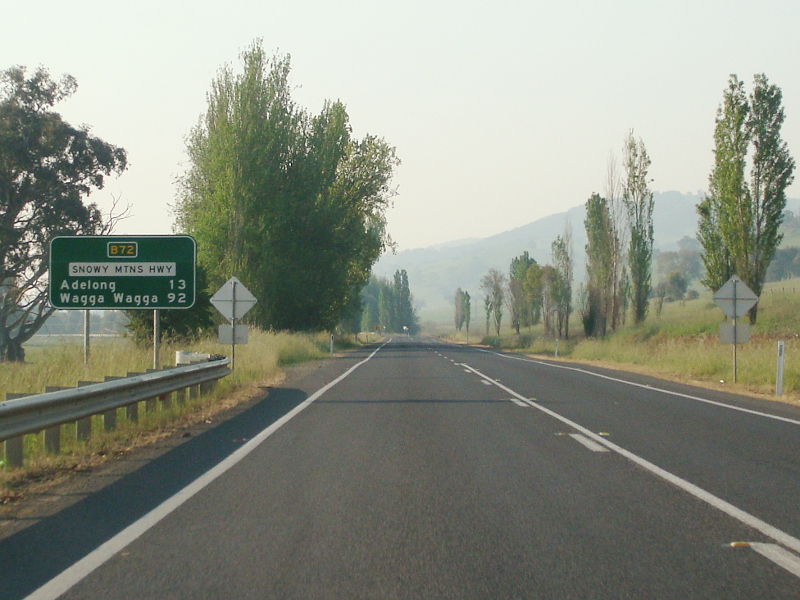
Distance Sign: RD sign on Snowy Mtns Hwy (B72) as it leaves Tumut, October 2013. Click here for a photo by Richard Wardle of the previous sign at this location from October 2008. Image © Paul Rands |
|||
 |
Advance Directional Sign: AD sign at Gilmore approaching Killarney Rd, October 2013. Image © Paul Rands |
|||
 |
Killarney Road: Corner of Snowy Mtns Hwy (B72) and Killarney Rd at Gilmore, October 2013. Image © Paul Rands |
|||
 |
Advance Directional Sign: AD sign at Gilmore approaching Batlow Rd, October 2013. Image © Paul Rands |
|||
 |
Batlow Road: Corner of Snowy Mtns Rd (B72) and Batlow Rd at Gilmore, October 2013. Image © Paul Rands |
|||
 |
Distance Sign: Reassurance directional sign at Gadara after Batlow Rd, October 2013. Image © Paul Rands |
|||
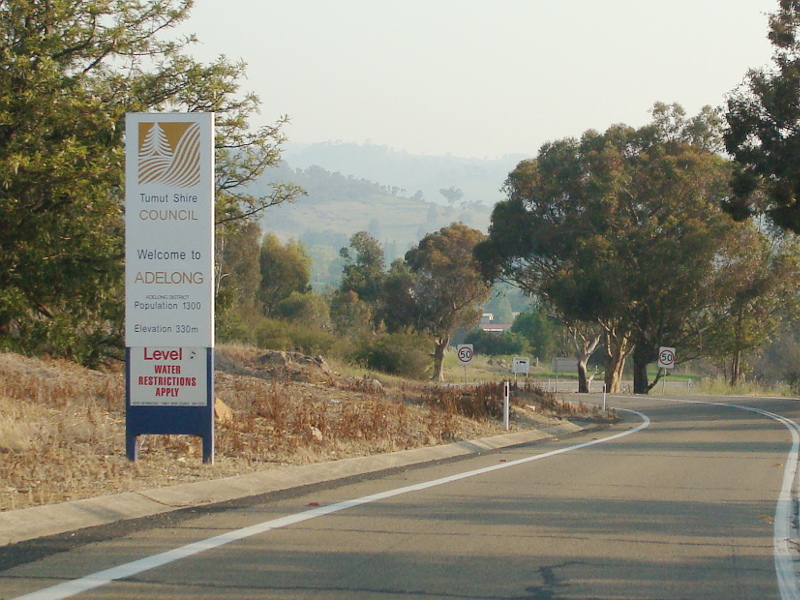 |
Entering Adelong: Snowy Mtns Hwy (B72) as it enters the town of Adelong, October 2013. Image © Paul Rands |
|||
 |
Advance Directional Sign: AD sign at Adelong approaching Tumut St, October 2013. Image © Paul Rands |
|||
 |
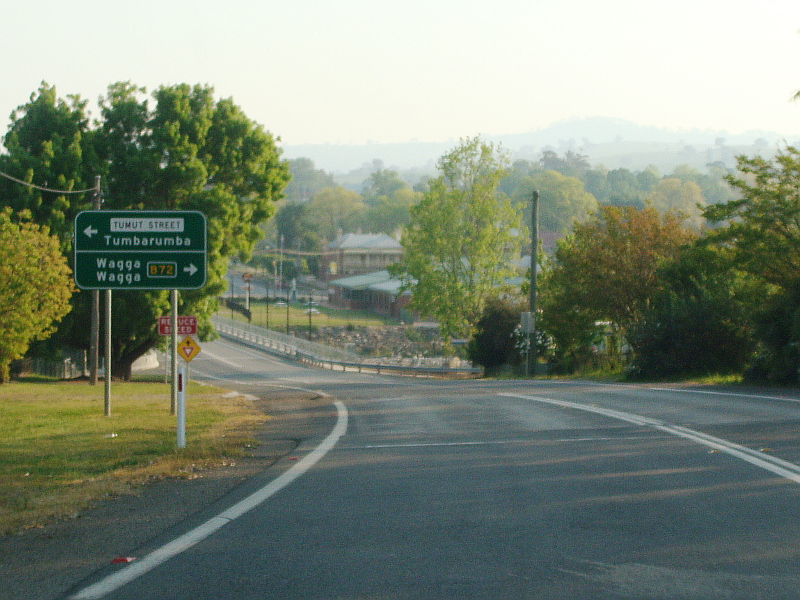
Wondalga Road: Snowy Mtns Hwy (B72) at the junction with Wondalga Rd (Tumut St) in Adelong, October 2013. Click here for a photo by Richard Wardle of the previous signs at this location from October 2008. Image © Paul Rands |
|||
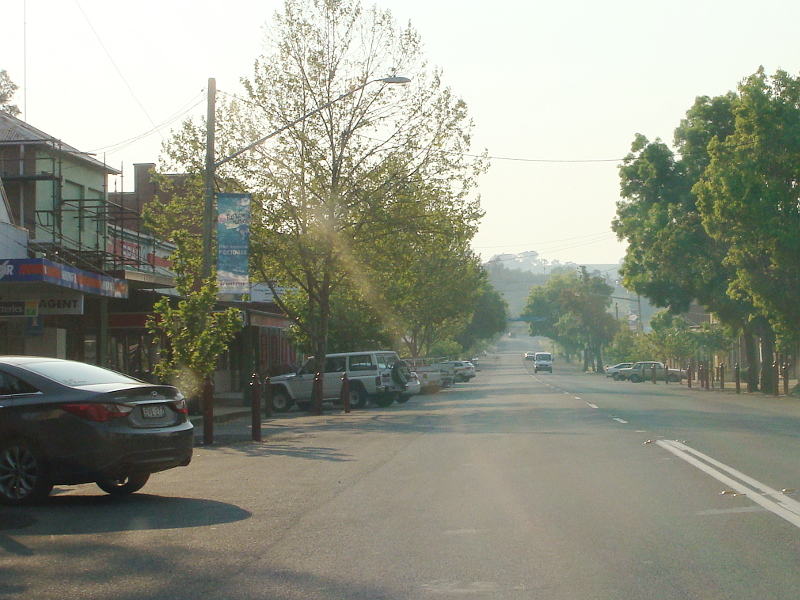 |
Adelong: Snowy Mtns Hwy (B72) as it passes through the town of Adelong, October 2013. Image © Paul Rands |
|||
 |
Advance Directional Sign: AD sign approaching Grahamstown Rd, Adelong, October 2013. Image © Paul Rands |
|||
 |
Grahamstown Road: Corner of Snowy Mtns Hwy (B72) and Grahamstown Rd at Adelong, October 2013. Image © Paul Rands |
|||
 |
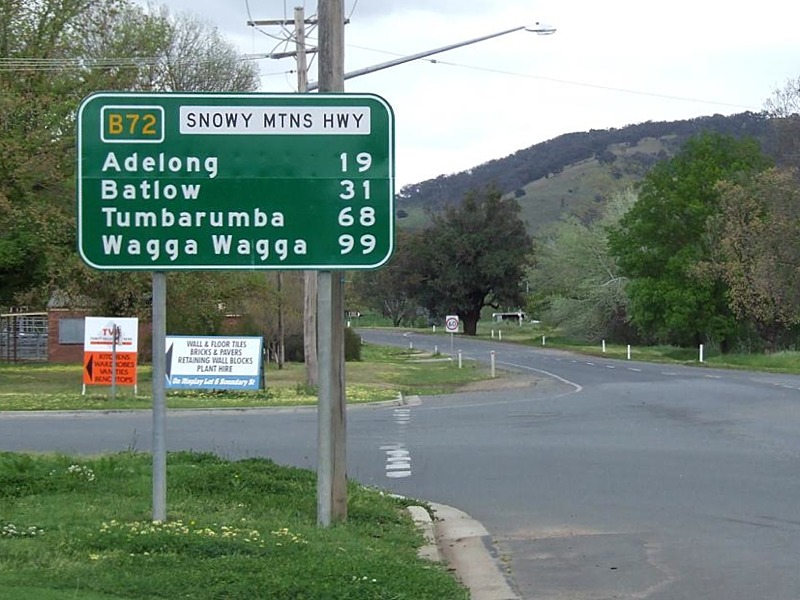
RD Sign: Distance sign at Adelong, October 2013. Image © Paul Rands |
|||
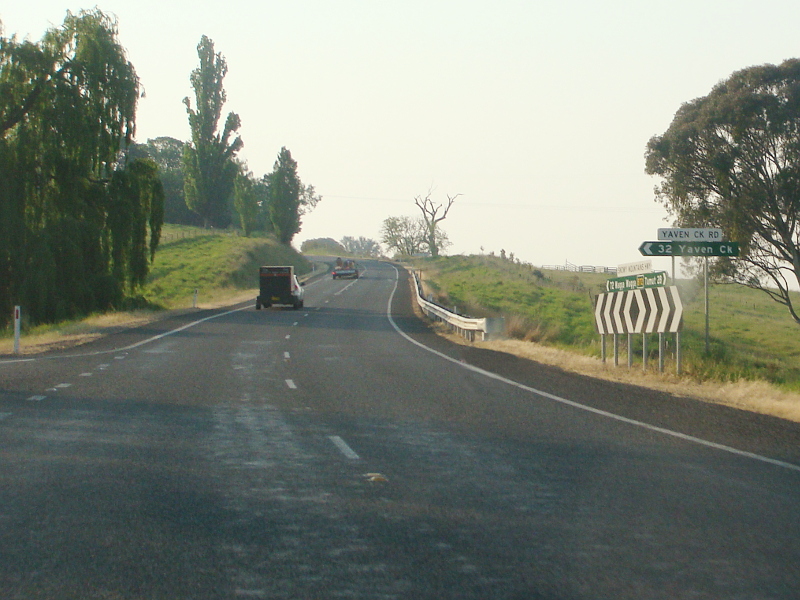 |
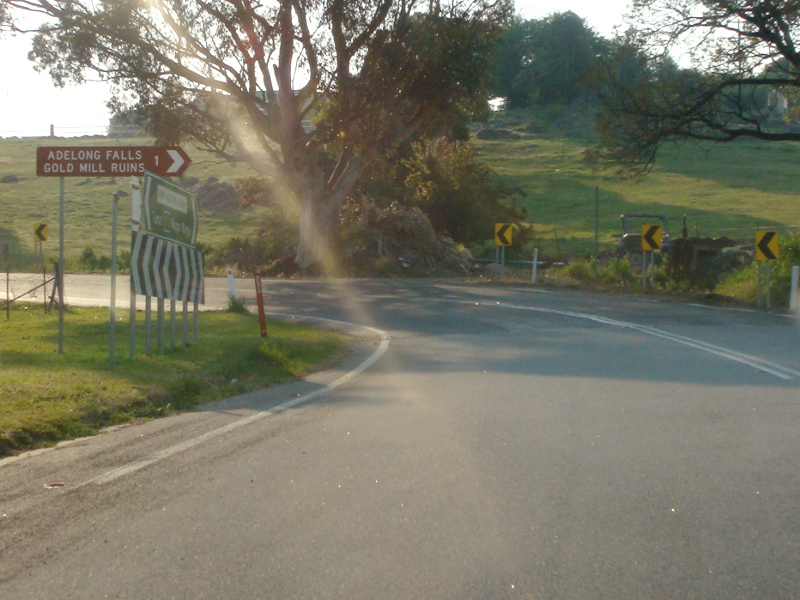
Yaven Creek Road: Corner of Snowy Mtns Hwy (B72) and Yaven Ck Rd at Bangadang, October 2013. Image © Paul Rands |
|||
 |
Advance Directional Sign: AD sign at Mundarlo approaching the Hume Hwy (M31) interchange, October 2013. Image © Paul Rands |
|||
 |
Hume Highway Interchange: Snowy Mtns Hwy (B72) as it meets its western terminus, the Hume Hwy (M31) interchange at Mundarlo, October 2013. Image © Paul Rands |
|||
| Click here to for the continuation of Snowy Mountains Highway (B72) between Cooma and Talbingo | ||||
1 Roads and Traffic Authority, Schedule of Classified Roads (and unclassified Regional Roads), 20 February 2009
2 Department of Main Roads, Main Roads of New South Wales, undated brochure
3 Roads and Traffic Authority, Construction & Maintenance, Regional Projects, South West, Replacement of Adelong Creek bridges
4 Canberra Times, Page 3, 21 October 1958
5 Government Gazette of the State of NSW, Issue 99, Page 2645, 9 September 1955
6 Canberra Times, Page 3, 20 February 1968
7 Canberra times, Page 3, 23 December 1967
8 Canberra Times, Page 6, 27 December 1971
Last updated: 0:5:43 19/3/2016.
This site © Paul Rands. All rights reserved. Some portions © (copyright) by their respective and credited owners. Permission must be obtained before using any images from this site. For details, please email by clicking here.